CSV upload of nucleotide sequences
General description of CSV Upload
- Go here for a general description of the data submission service via CSV Upload.
Data submission procedure using CSV Upload
1. Preparing the csv file
- The CSV file should contain following fields “Filename;Recordname;genetic_sequence”
- Description of the values for the fields FileName and Recordname are described :
File name: This field is used as the first key for linkage between the data sent through HD4DP1 (patient & sample data) and SFTP (nucleotide sequences data). This field must contain the same value for both uploaded records to allow the 1 to many link. Please use this convention: ARL_yyyymmddHHMMSS (name of ARL and date-time stamp of the file, e.g. HSP_20240827092014). The name of the csv file with nucleotide sequences sent through SFTP must have this value in order to be linked with the record transferred via the HD4DP1 (patient & sample data).
Record name: This field is used as the second key for linkage between the data sent through HD4DP1 (patient & sample data) and SFTP (nucleotide sequences data). This field must contain the same unique value for both uploaded records to allow the 1 to 1 link. Please use this convention: ARL_yyyymmddHHMMSS_xxxxx (name of ARL, date-time stamp of the file and a unique 5-digit number, e.g. HSP_20240827092014_00001). as described
- The values of the field “genetic_sequence” ????….
Example of the CSV file for sequence :
HD_DCD_submcsv_HDBP0263_HIV_SEQ_01_20240115.csv
Disclaimer: The example files above are only provided as a guideline and do not contain real life data.
2. Uploading the CSV file
Step 1: Open the sftp tool like WinSCP
Step 2: Get the credentials (Host name, Port number, User name and Password) from the IT department of the Data Provider, to log on to the sftp server located on the Data Provider side. In case the credentials are unavailable we advise you to request your credentials through our service portal at https://sciensano.service-now.com/sp via the Request something tab and subsequently the Request for Information box.
Step 3: Fill in the credentials into the Login screen and click on Login to be able to access the different upload folders:

Step 5: Now go to the folder on the left-hand side panel where the csv file to be uploaded is located:

Step 6: Drag the csv file to be uploaded from the left-hand side panel into the folder on the right-hand side panel:

Step 7: Wait until the polling system of the CSV Uploader has picked up the CSV file and has processed it.
Once the csv file has been processed it will disappear from the folder, when the page is manually refreshed!

3. Validate csv upload
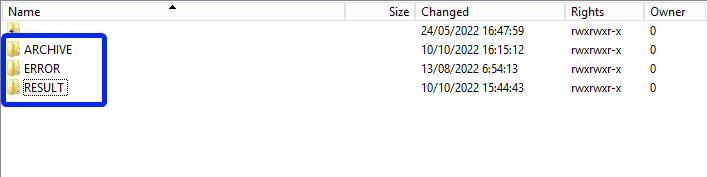
Once the csv file has been processed, 3 folders will be created (if they haven't been created already) in the DCD folder:
- ARCHIVE (after a csv file has been processed, the original csv file will be saved in this folder)
- RESULT (when the csv file is placed in this folder, it means that the csv file has been processed, a file will be created (or appended, if the file already existed) with the result of the upload of the csv file).
All the errors that are described in this file are business related, which means that they are technically correct, but in violation with the business rules or contain wrong values for that field. - ERROR (when the csv file is placed in this folder, it means that a technical error has occurred like the csv file contained erroneous formatting. The csv file won't get processed and an error file will be created with the errors and reason why the csv file couldn't be processed)
3.1 Validation of the csv upload via sftp tool:
Step 1: Double-click on the ERROR folder to open it, click on the refresh button and verify that there is no error file present.

Step 2: Return to the DCD folder. Now double-click on the RESULT folder to open it, click on the refresh button and verify that the result file is present.

Step 3: Double-click on the result file to open it.
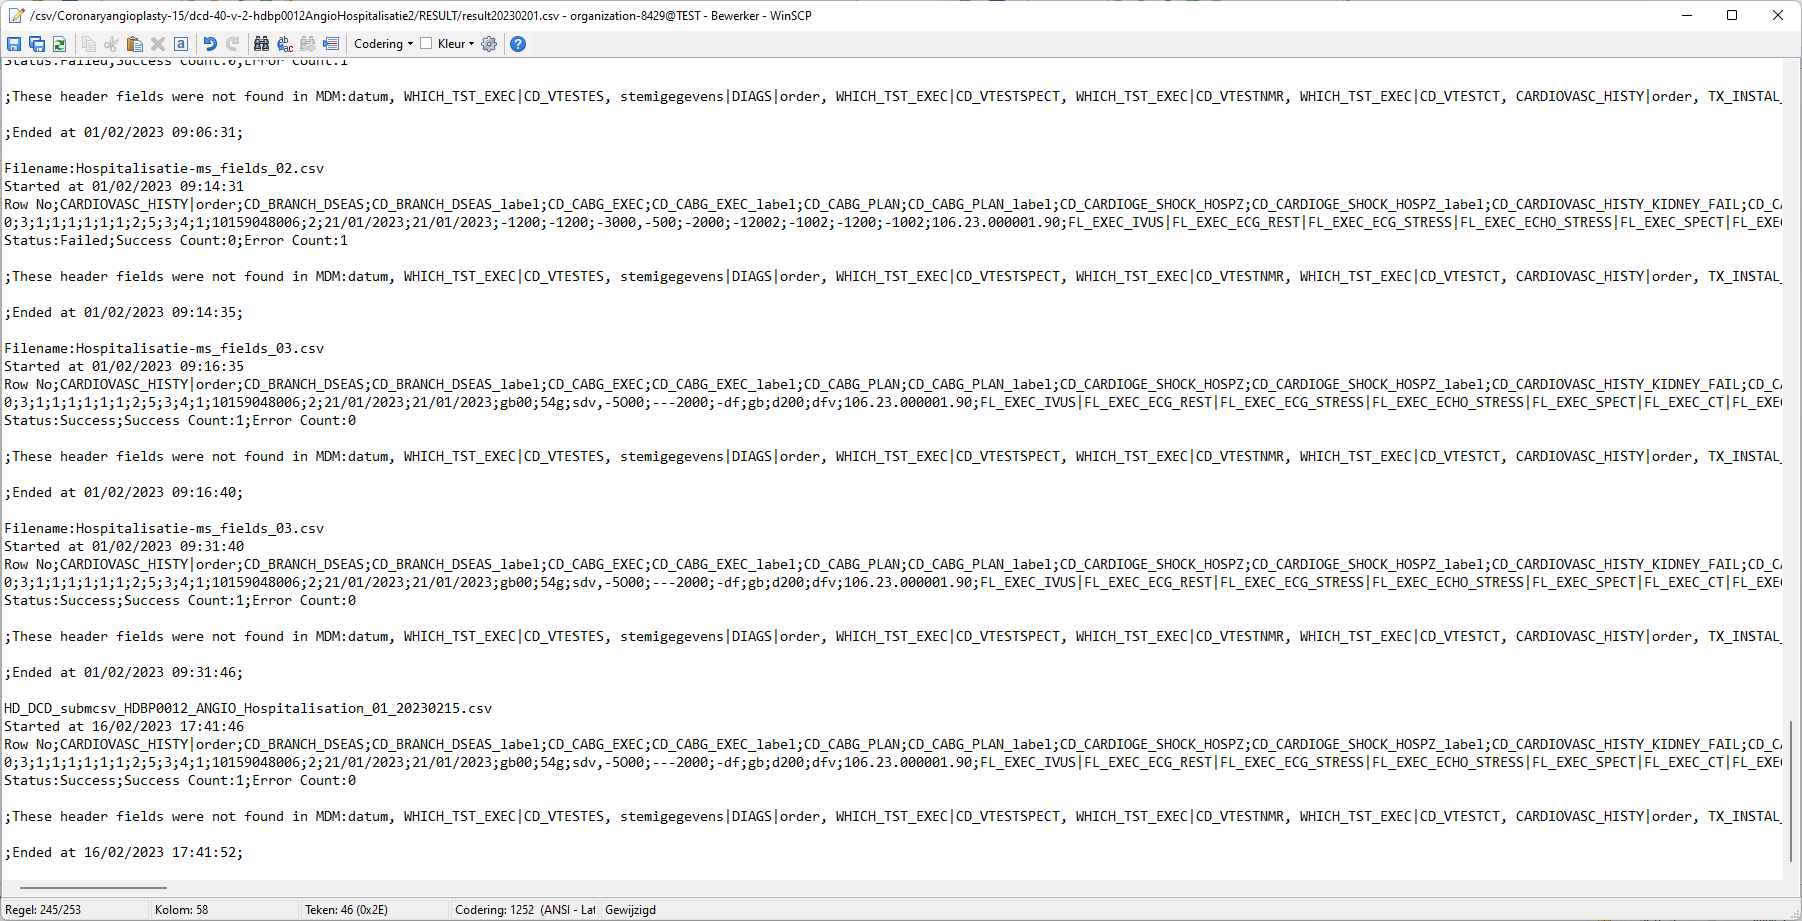
Step 4: If there are multiple records in the result file, scroll to the entry of the current csv upload by looking at the upload date (Started at dd/mm/yyyy hh:mm).
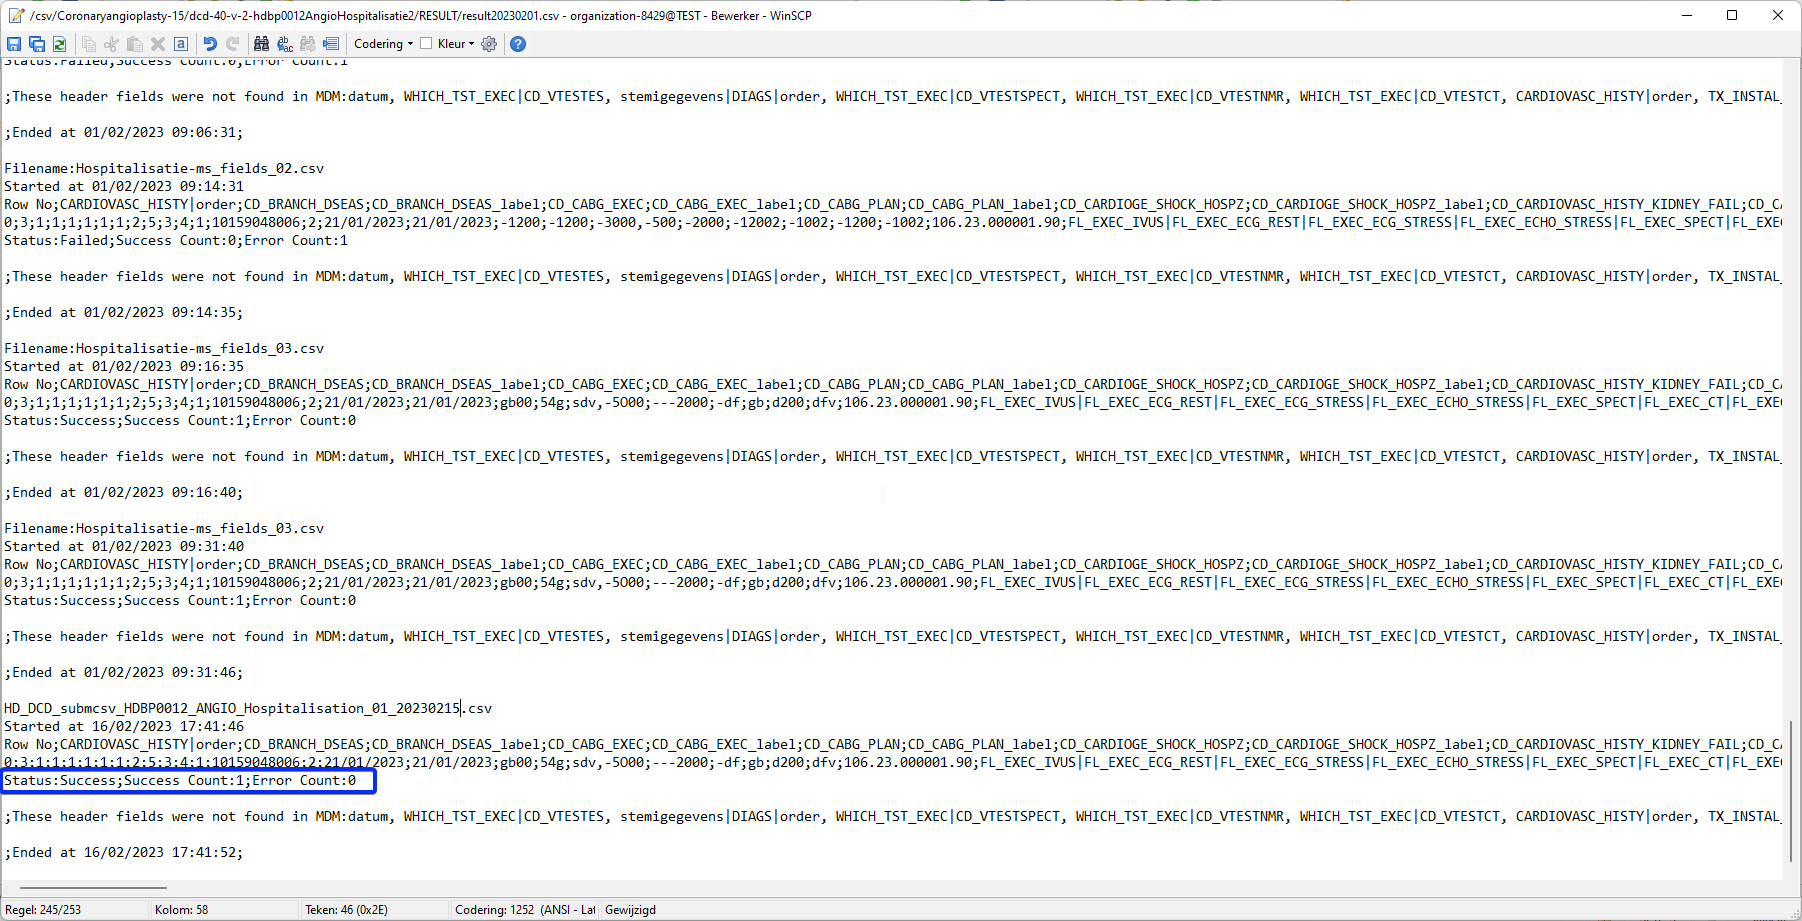
Verify the result file that the upload was successful by searching for the word SUCCESS and having a look at the Status. This Status must contain: Success;Success Count:1;Error Count:0
3.2 Validation of the csv upload via HD4DP 2.0:
Step 1: Open the HD4DP 2.0 web application.
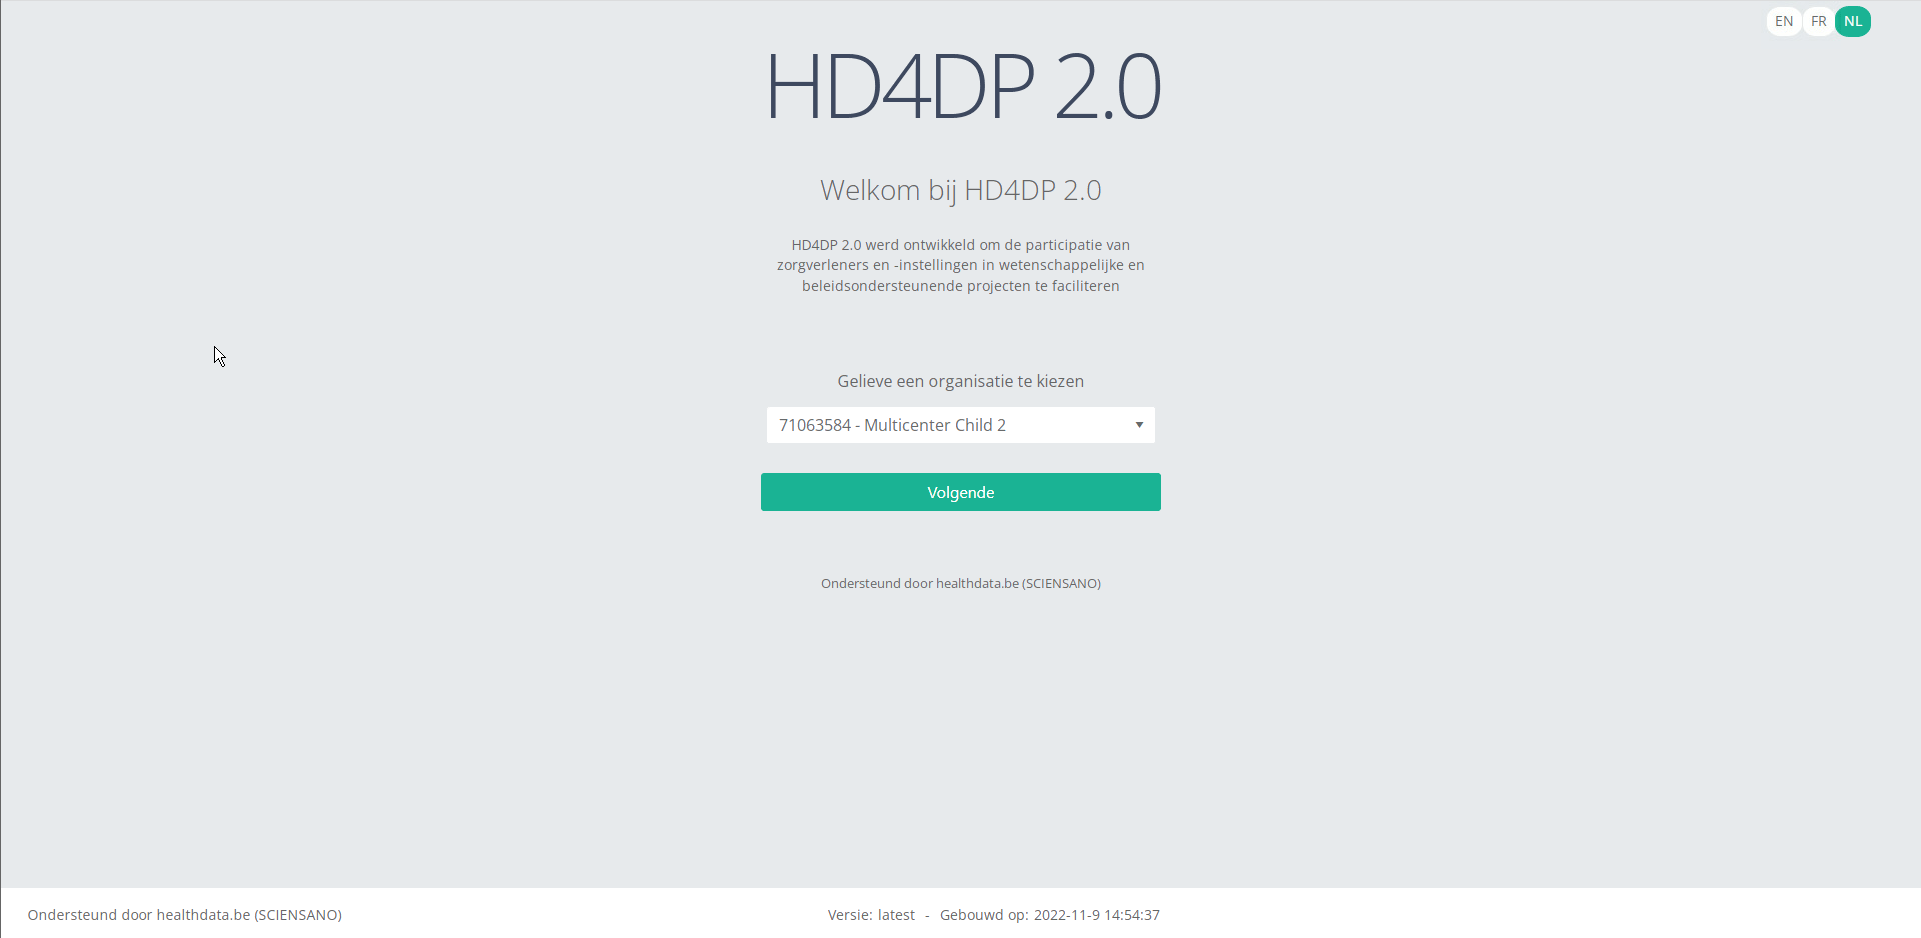
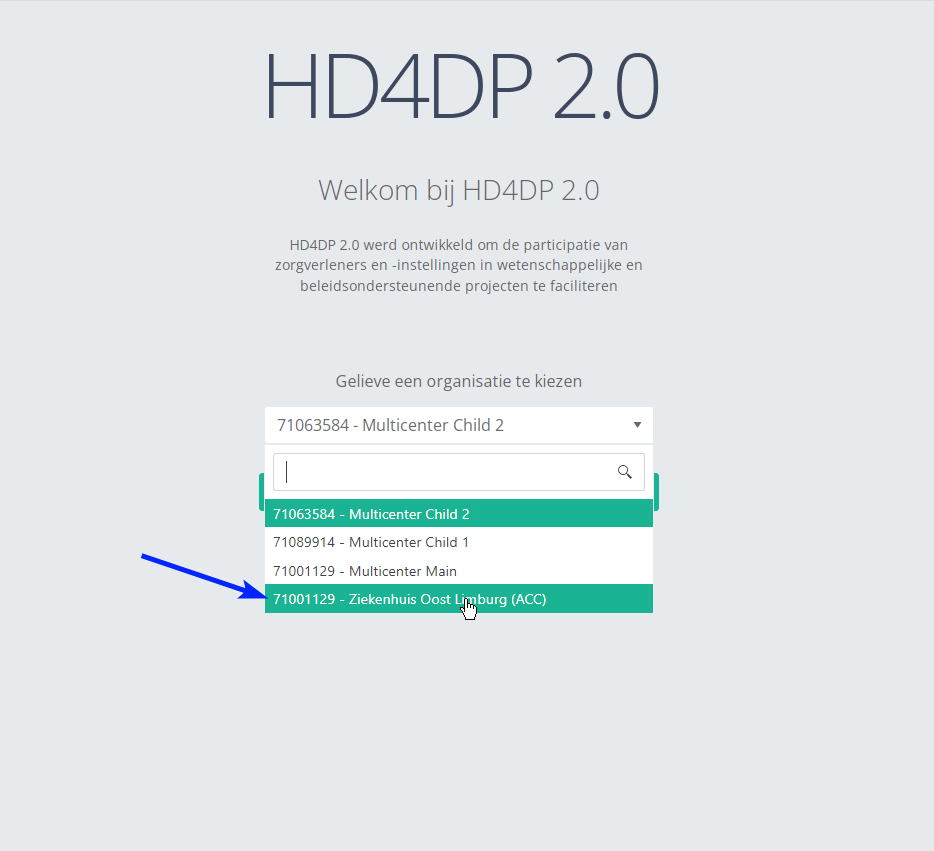
Step 2: Select the organization in the dropdown list and click on Volgende (Next)
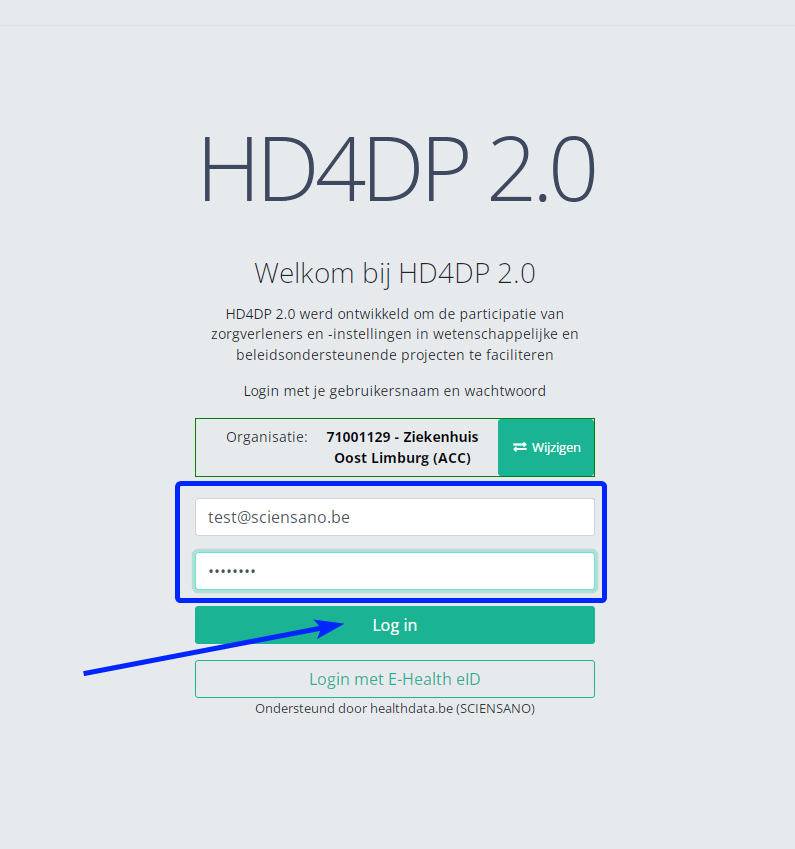
Step 3: Fill in the username and password, that has been provided by your IT Department or Healthdata team, and click on Log in to access the HD4DP v2.0 application.
Step 4: Navigate in the menu on the left-hand side panel to the desired study program:
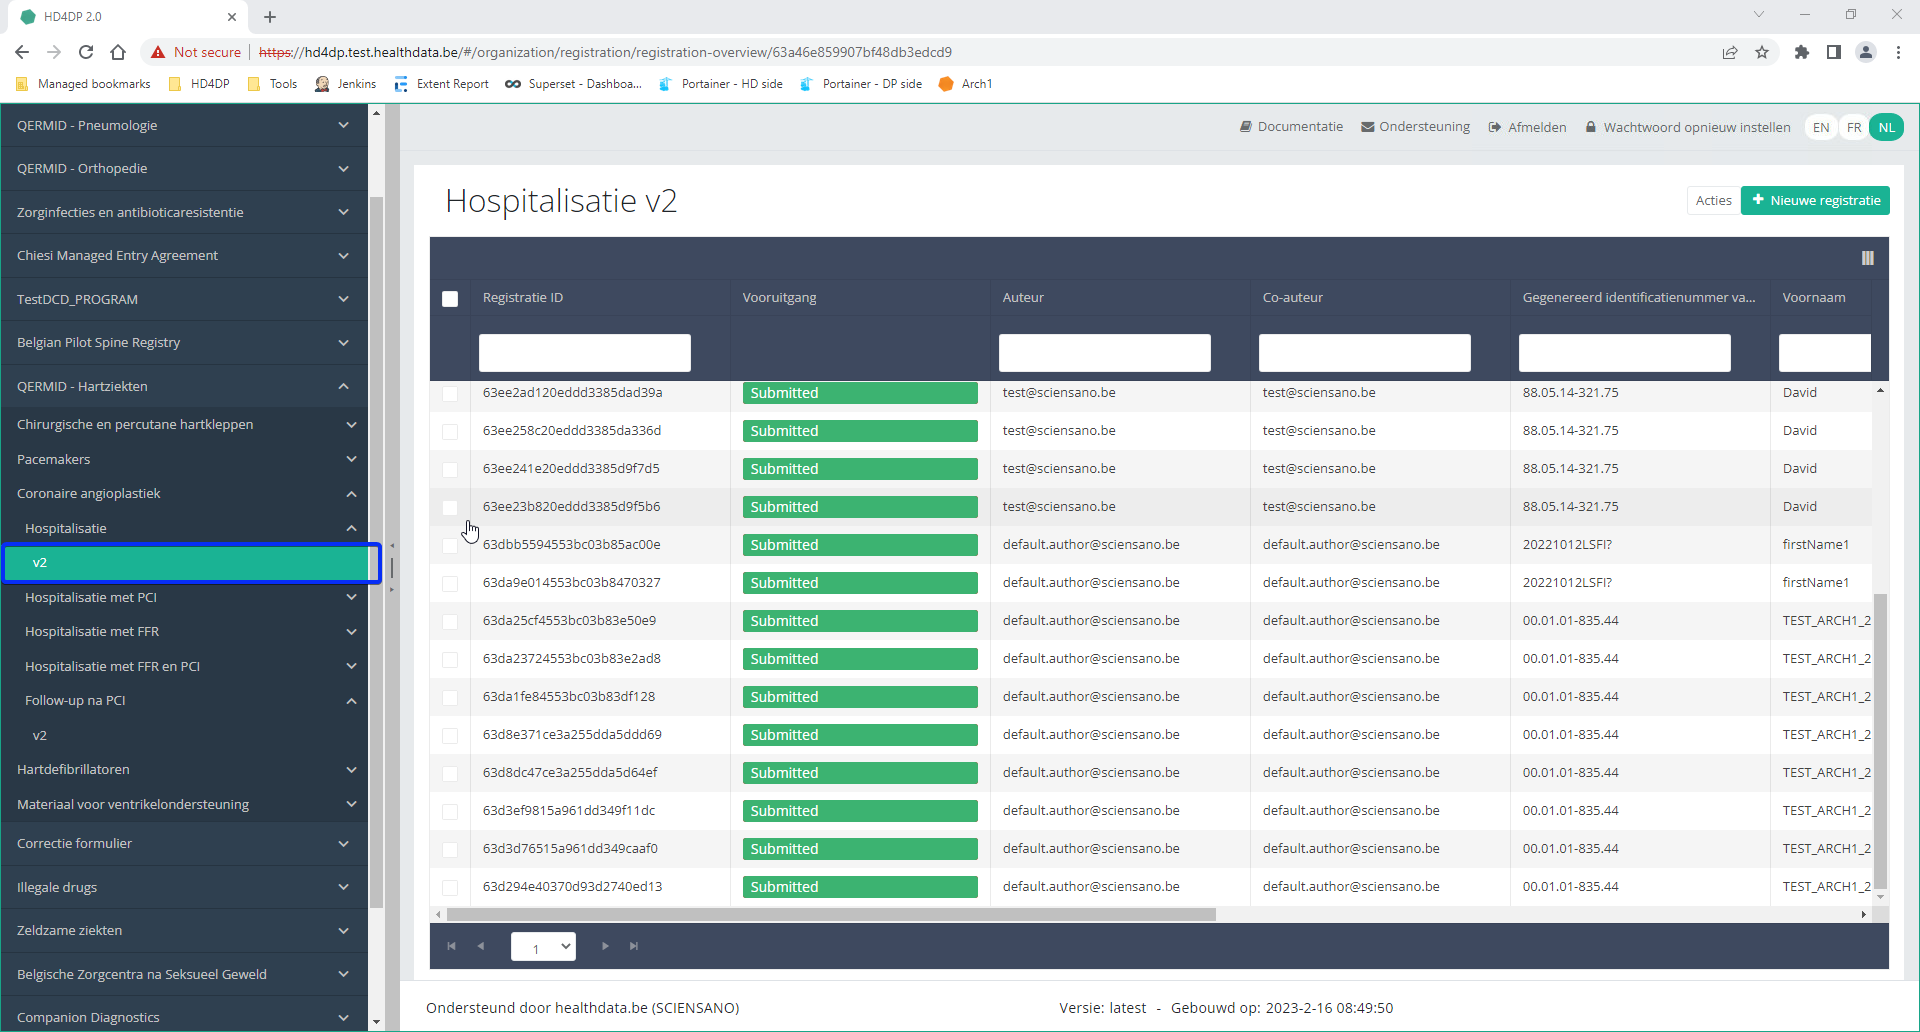
Step 5: Check that the uploaded registration(s) is/are displayed in the overview table.