Updating the monthly SLA reports
On the first day of each month, the following new files will be automatically generated in relation to the SLA metrics:
1) A Word document containing metrics at the monthly level (from year start to end of the previous month)
2) A Powerpoint document containing metrics at the monthly level (from year start to end of the previous week)
These files are created by a SAS program and stored in certain folders on Dropbox. A small amount of manual work is needed at the start of each month to ensure these files are processed correctly. Below are the steps that should be followed.
.
STEP ONE - NAVIGATE TO THE APPROPRIATE FOLDER IN DROPBOX
The exact folder will depend on the year.
Let's take the year 2023 - if you want to update the two monthly files, the correct path to follow is:
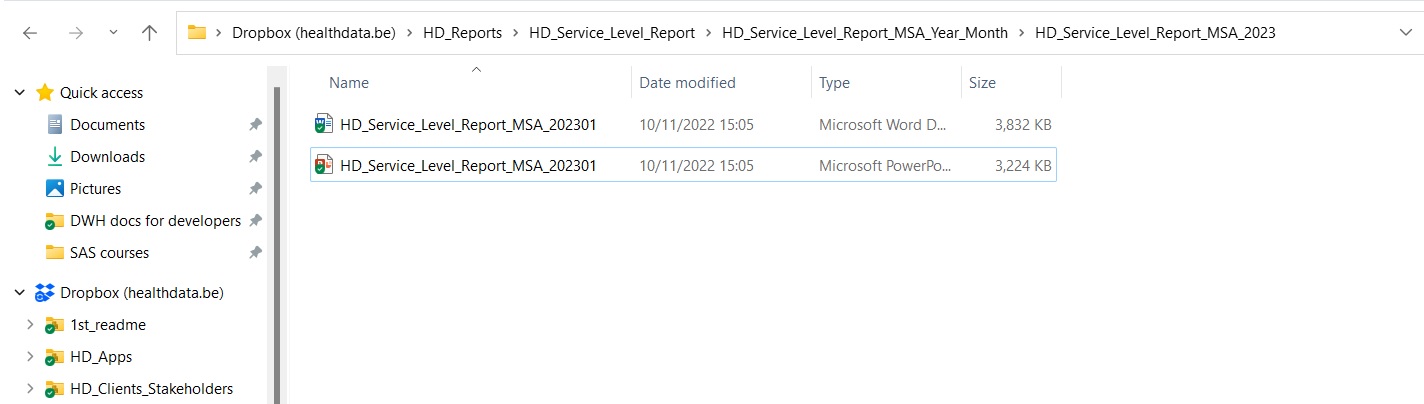
HD_Reports\HD_Service_Level_Report\HD_Service_Level_Report_MSA_Year_Month\HD_Service_Level_Report_MSA_2023
On 1st February 2023, we expect to see two files in this folder - as shown in the image below.
These are the Word and Powerpoint documents containing the metrics for the first month of 2023.
For that reason, the filenames end with the suffix 202301.
Each month, two new files will be added and they will have a different suffix - 202302, 202303, 202304 etc.
STEP TWO - OPEN THE NEWLY CREATED FILES AND UPDATE THE LINKS
On the first day of each month (or as soon after as possible), we want to open the monthly DOC and PPT files and update the links to the Excel spreadsheet in another folder which provides the up-to-date tables and graphs
This must be done in the desktop version of Dropbox, not Dropbox Mobile or Dropbox for the Web
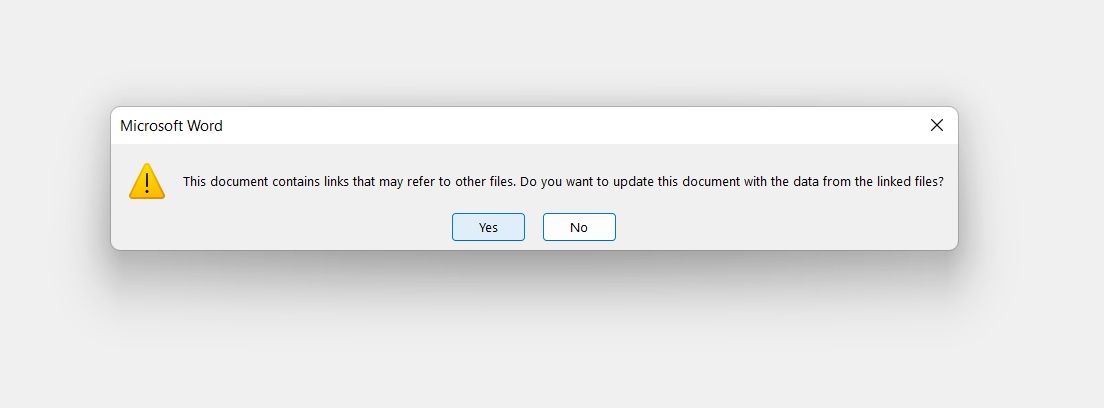
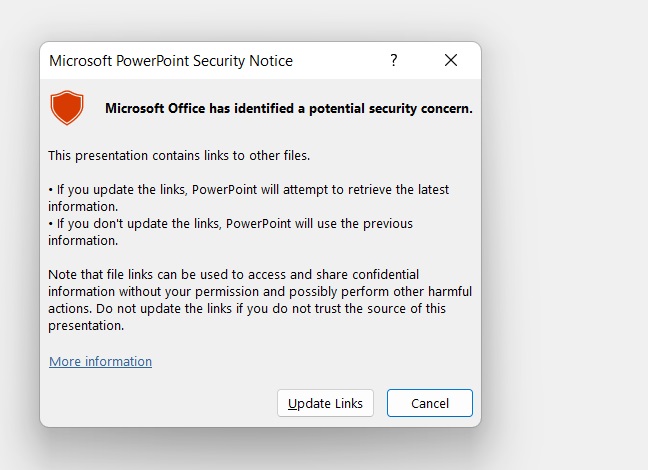
The first time a file is opened, a pop-up message will appear as shown in the below images
For Word documents - click "Yes" to update the links
For Powerpoint documents - click "Update Links"
Note that updating the links takes some time (up to 10 minutes) - so wait and don't attempt to click anything else
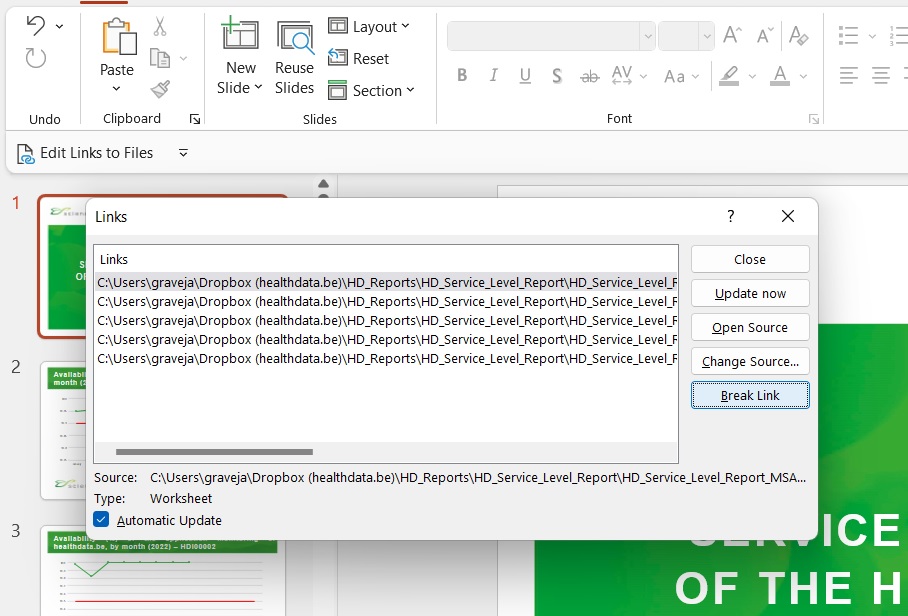
STEP THREE - BREAK THE LINKS WITH THE EXCEL DOCUMENT
Once the document has opened and the links have been updated, we want to break them.
This procedure is slightly different for the Word document and the Powerpoint document.
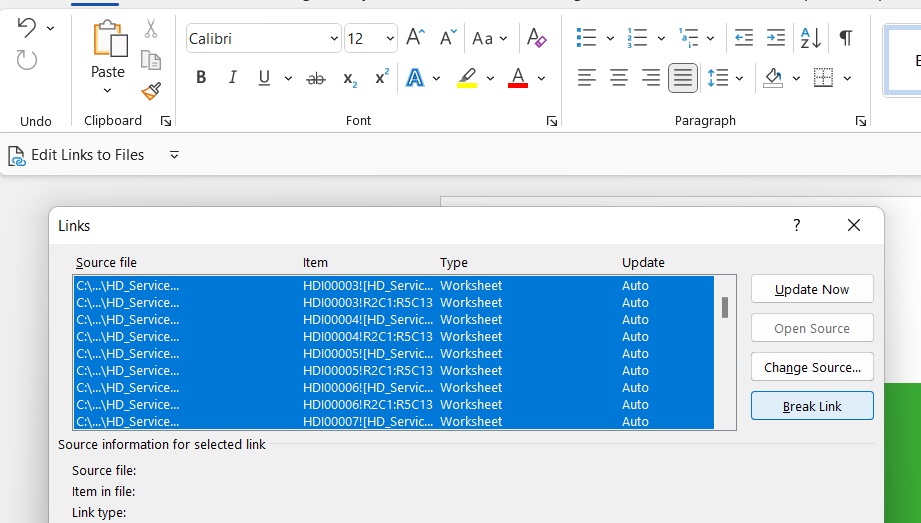
In both cases - start by clicking the "Edit Links to Files" button which should be displayed under the taskbar.
If it does not appear for some reason, you can right-click on the taskbar, click "Customize the Ribbon" and place it there yourself.
In this pop-up, you will see a list of all the external links - this represents every graph and table in the document.
To break these in Word, you can select all the links at once and click "Break Link" as shown below.
Once this is done, the pop-up will close automatically - then you save the document and exit.
For Powerpoint documents, you must break each link individually - approximately 100 in total.
Select the first link and then click "Break Link" consecutively until all the links have disappeared - as shown below.
Then manually close the pop-up, save the document and exit.