Becoming an end-user
Here we describe the process of an authenticated user becoming an end-user via approval by a SPOC of the created account(s) and respective requested access grants. We hereby focus on three steps:
Edit profile
To the top left of your screen you will discover a new menu with three tabs: View profile, Edit profile and Log out.
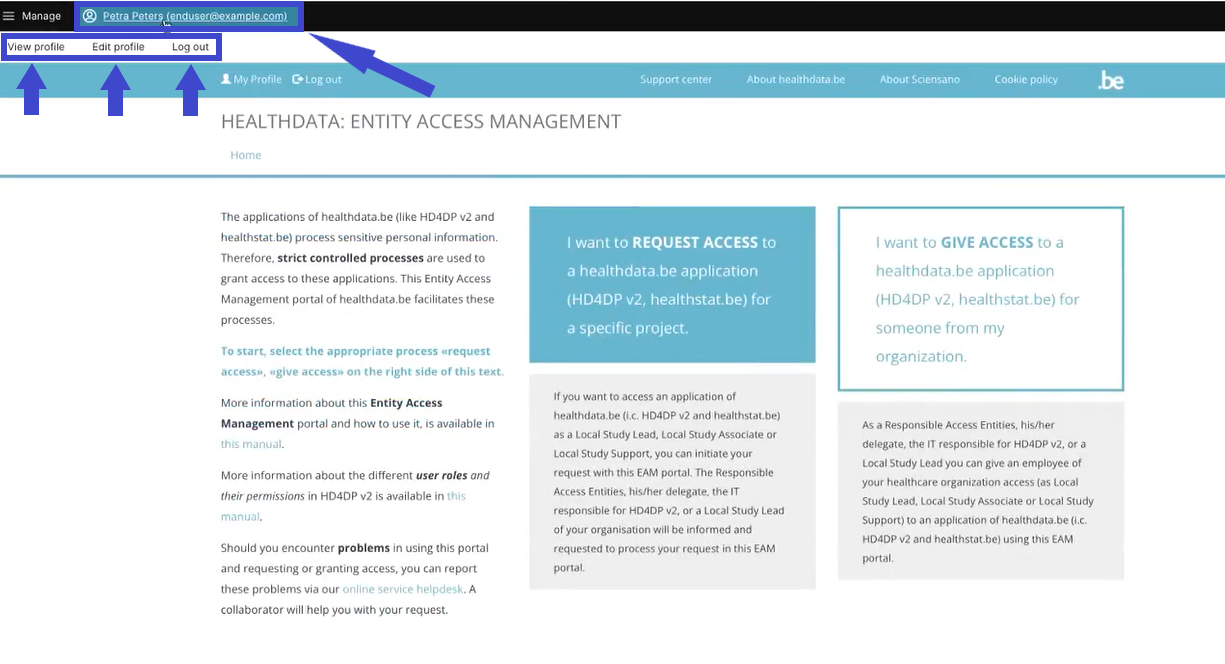
First, select the tab Edit profile to complete your profile information. Here again, you will find three tabs:
User settings, Personal information and Accounts.
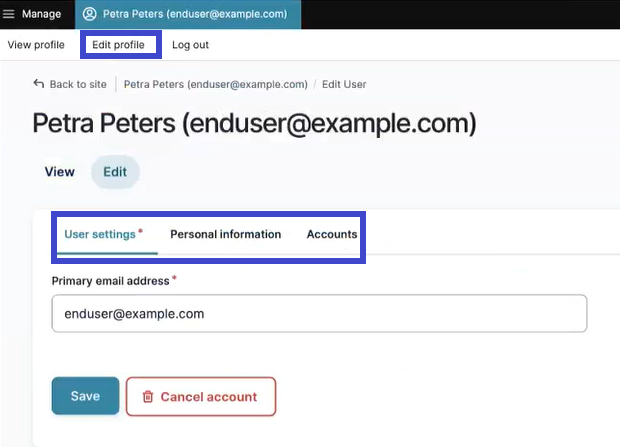
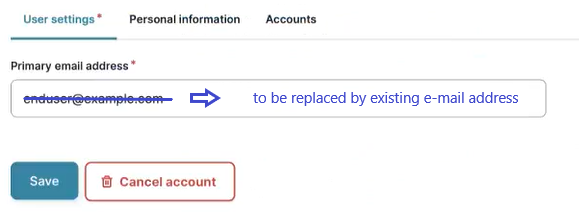
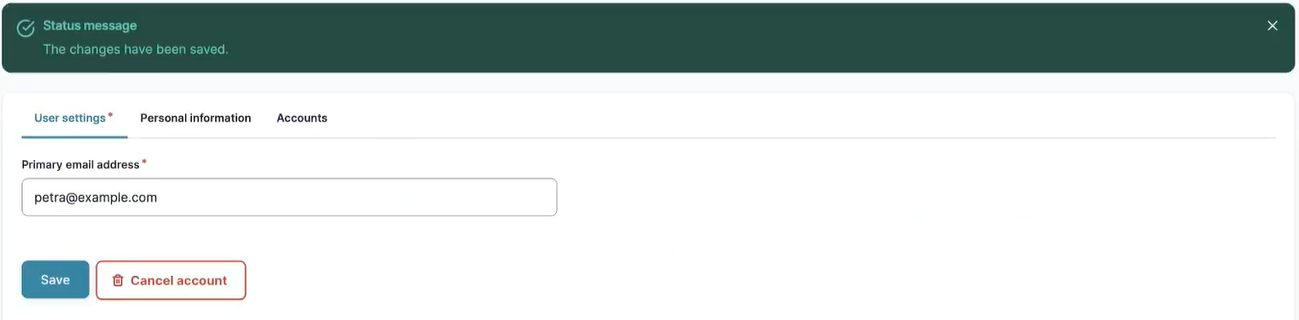
The tab User settings features a primary e-mail address field, which is automatically prefilled, when a new user logs in through eID or Itsme. It is required to replace this specimen e-mail address with an existing one, enabling the user to receive the necessary notifications. Confirm with the Save button.
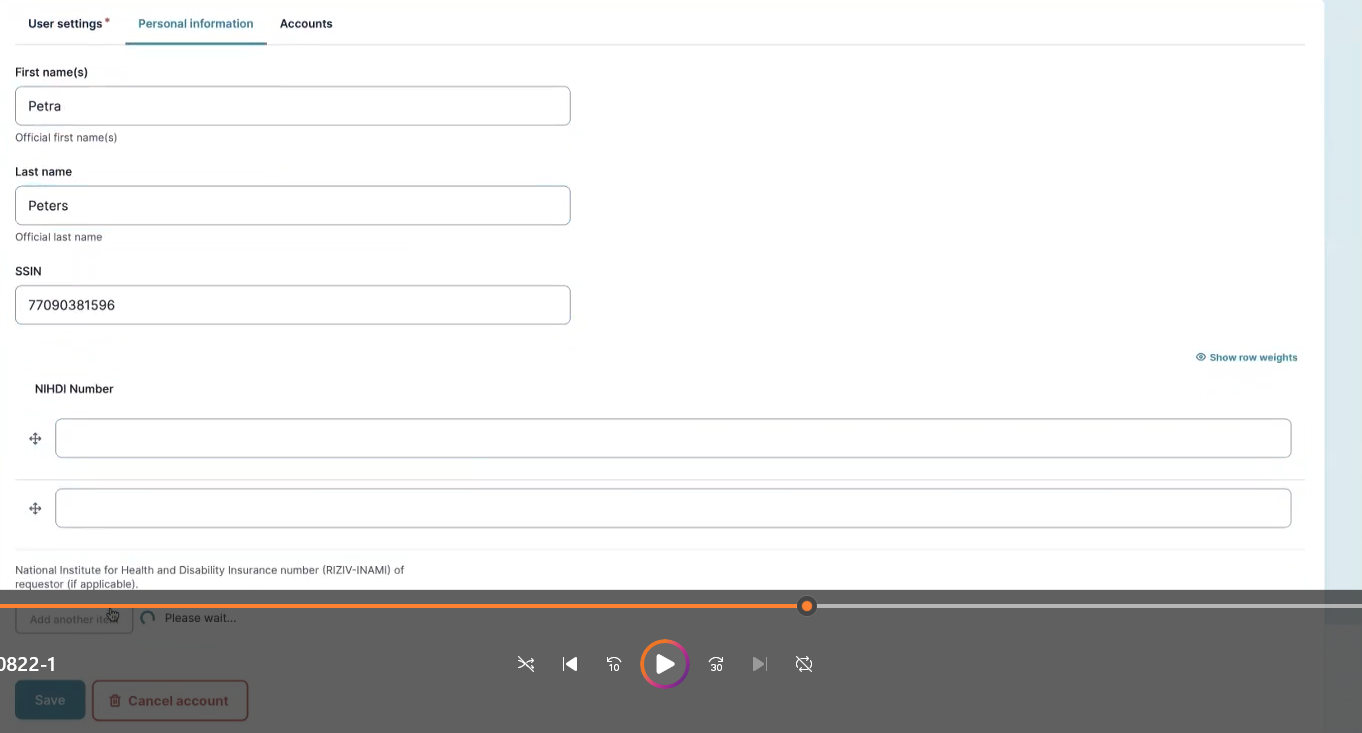
The tab Personal information partially contains automatically populated information such as first name, last name and SSIN. You can provide one or more NIHDI numbers, if necessary.
Create account(s)
The tab Accounts allows the user to add one or more accounts.

You therefore select the Add new Account button - the Add Account window pops up.
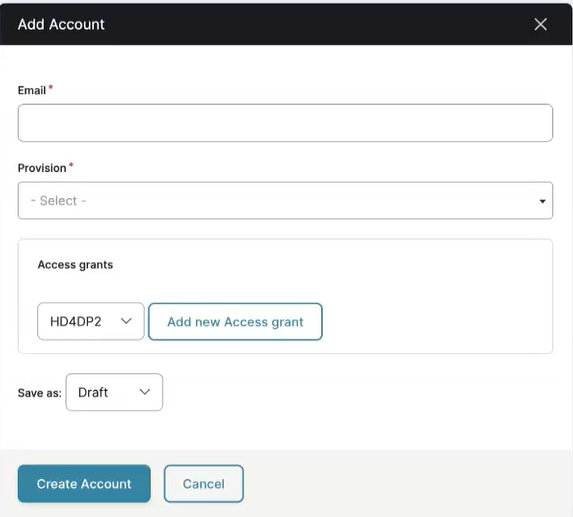
Complete with your e-mail address for your organization and select a Provision, which is searchable by organization name or application in a drop-down list. Adding an Access grant is not necessary to create an account.
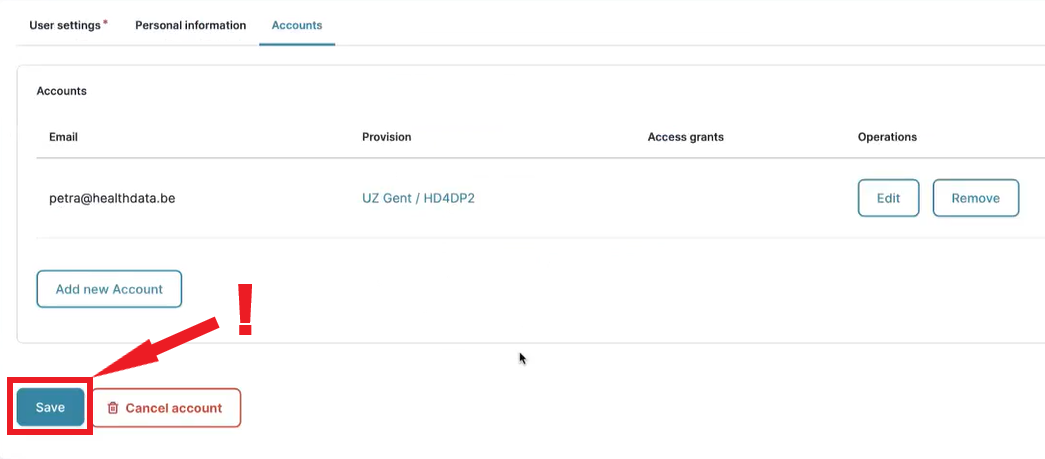
Click on the Create Account button and to effectively add the account (!) subsequently on the Save button.
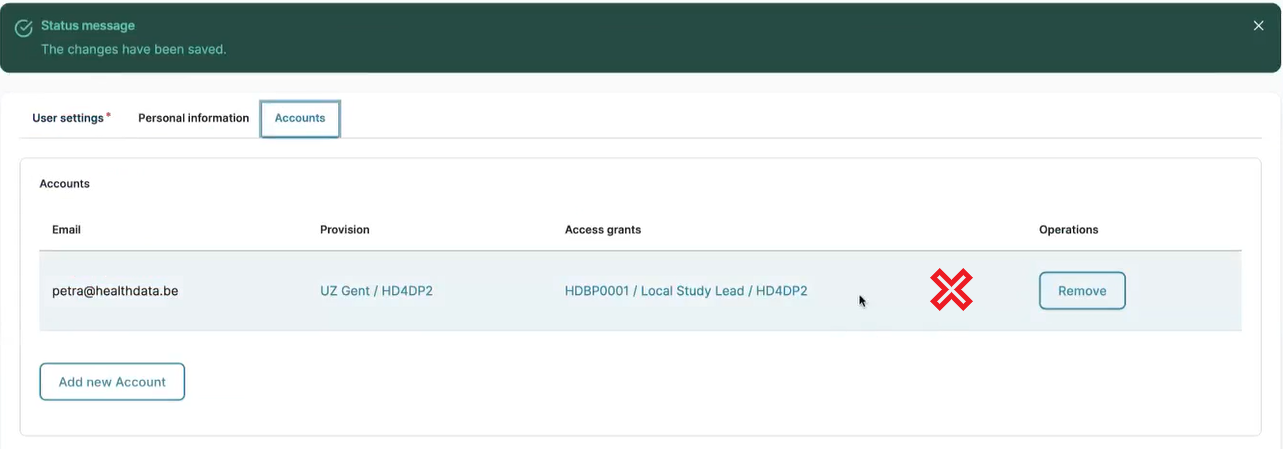
Succesfully saved changes will be confirmed as follows:
Return to the tab Accounts to create more accounts. However, if you want to edit a created account, e.g. to add an Access grant, you select the Edit button next to the respective account.

The window Edit account pops up:
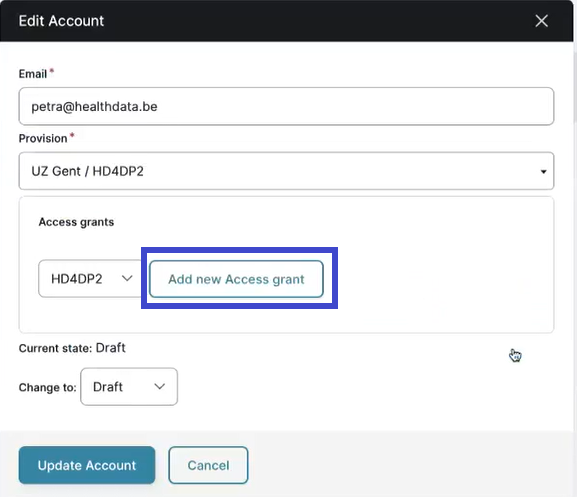
Add access grants
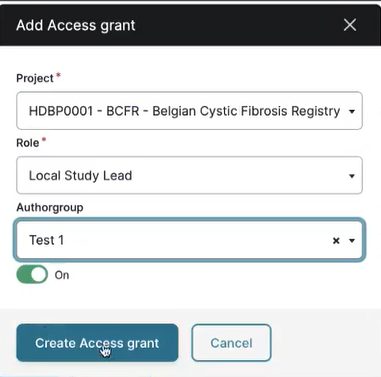
Select the Add a new Access grant button. Yet another window appears in which you define the HD Business Project, the user Role and the Author group in the respective drop-down lists. The populated values of the lists prevent from writing mistakes. Confirm with the Create Access grant button.
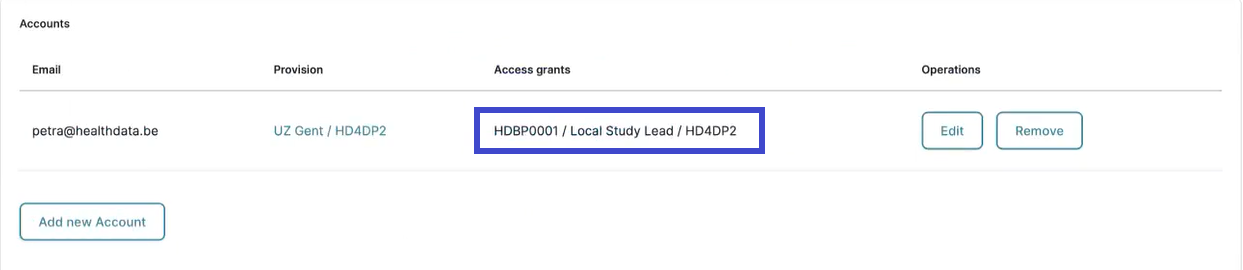
Subsequently select the Update account button in the Edit Account window and return to the Accounts tab to find the added Access grant as follows:
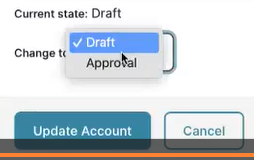
Now you have all information for an account in place, you reselect the Edit button. In the Edit account window, you change the current state of the account from Draft into Approval.
By clicking on the Update account and Save buttons in the successive screens, you confirm this request for approval. When returning to the tab Accounts, you will notice that the Edit button is not available anymore.
Wait now for the notification e-mail to land in your mailbox. This mail will be sent by the SPOC of the organization that was mentioned in the provision. Please proceed now to End-user becoming a SPOC.